Our Model > Projects >
Up | Building | River Wall | The Bridge | Ballasting | Trees | Signal Gantry
The
River Wall
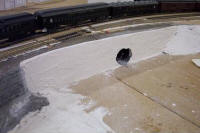
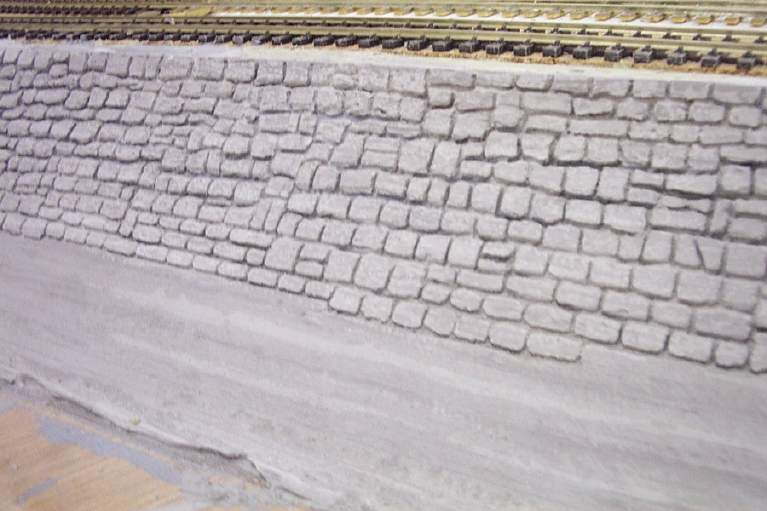
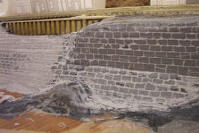
The details of wall construction are given here in
case anyone else wants to use this method. Firstly a layer of plaster was spread
as smooth as possible over the wooden sub-surface, then a thin layer of fine
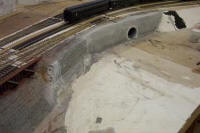
filler (with a polymer?) over the top - in light grey. This was sanded smooth
with an electric sander. Stones were then scribed out using a mini-drill with a
fine head. Straight lines could usefully be scribed out first to give guidance.
The results was pretty good but the mortar lines were too deep
(see below for remedy). The edges of the
stones were softened with a rough burr on the mini-drill, and
passing it loosely and quickly over the wall also roughened up the
surface of the stones.

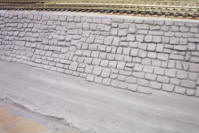
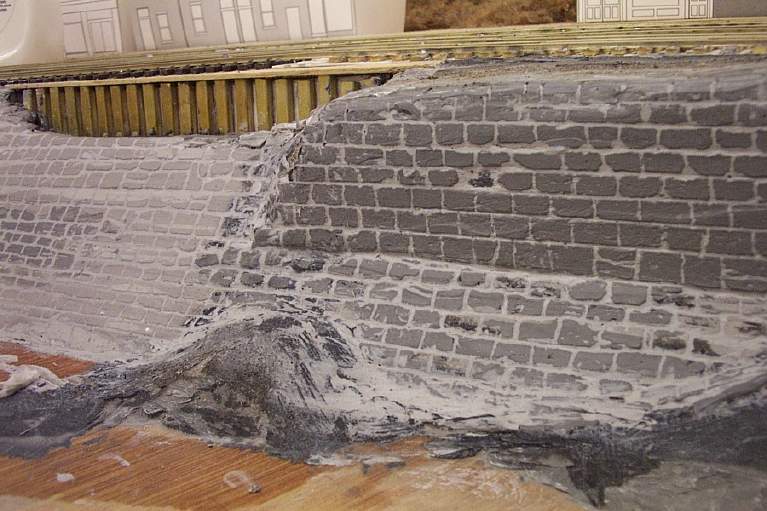
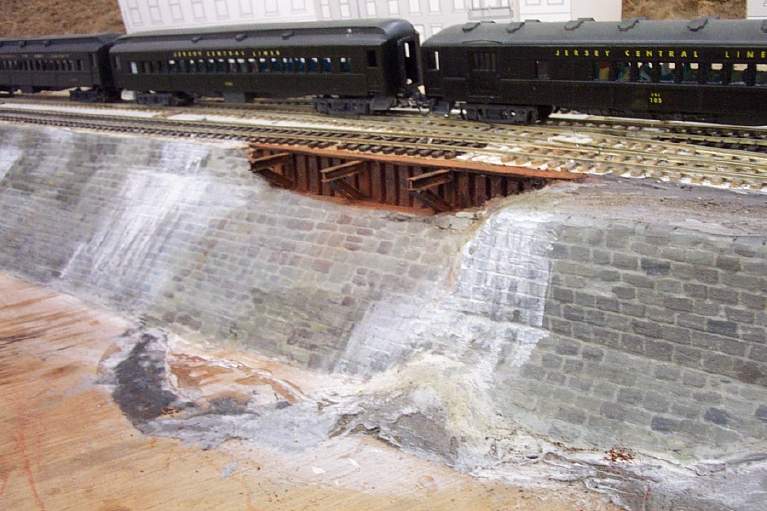
A thin plaster mixture was brushed over the wall to fill the gaps
between the stones, and, as it dried, a toothbrush was used to remove the
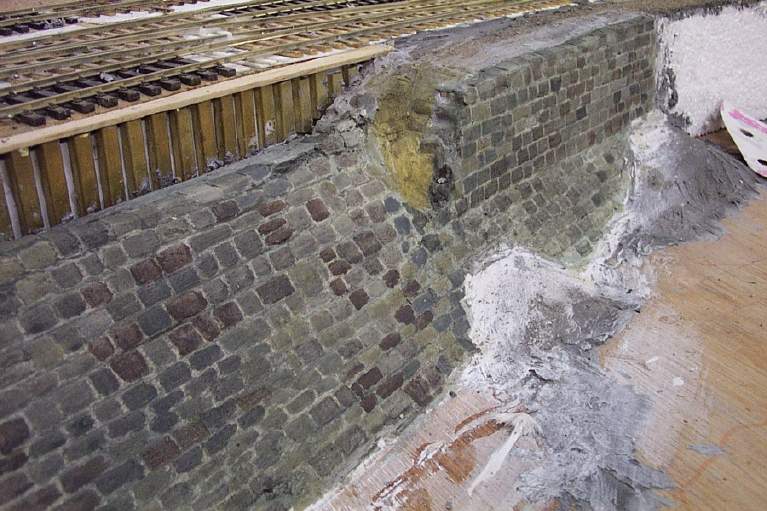
surface layers and provide some depth to the mortar. Individual stones were then
painted in a range of dull reds, greens, browns and greys with cheap
artists' acrylics and these were then washed with
washes of various greys and green-greys - partly to darken the mortar and partly
to blend and soften the colors. White streaks (as per the original) were then
added with weathering powders and then watered-down acrylic (watered with IPA).
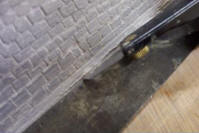
Finally, the wall support of residual girders were painted black and then
weathered heavily with rust powders - this was held on with hair spray. At a
later stage, the surface will be brushed with dull-cote to seal it and provide a
consistent finish.
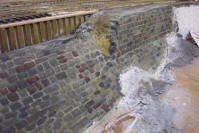
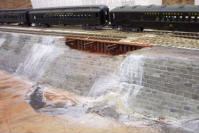
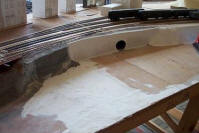
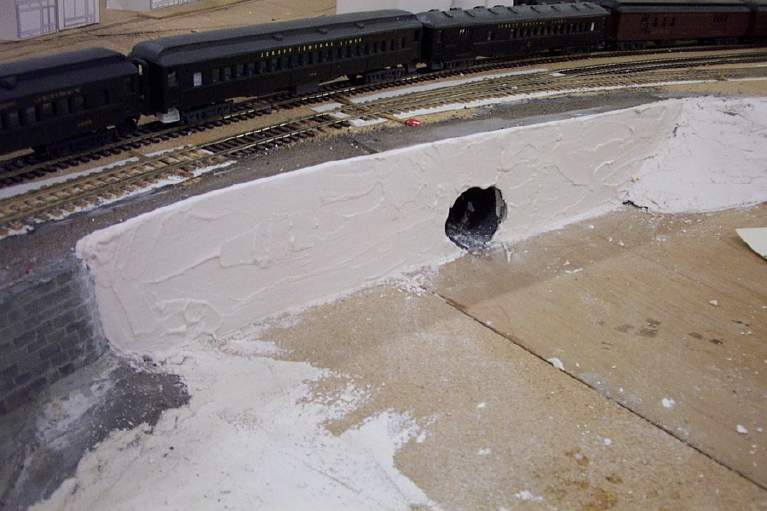
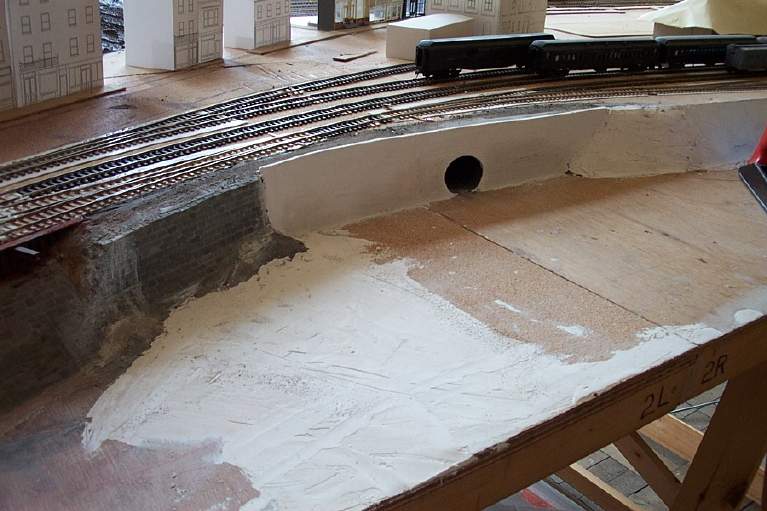
The adjacent "concrete"
wall was built out from the original placing and
coated in plaster (and the riverbed was levelled).
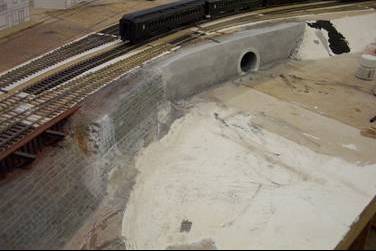
The wall was then sanded smooth and in late June painted with
a wash of modellers' acrylics.